Preserve your bouquet blooms

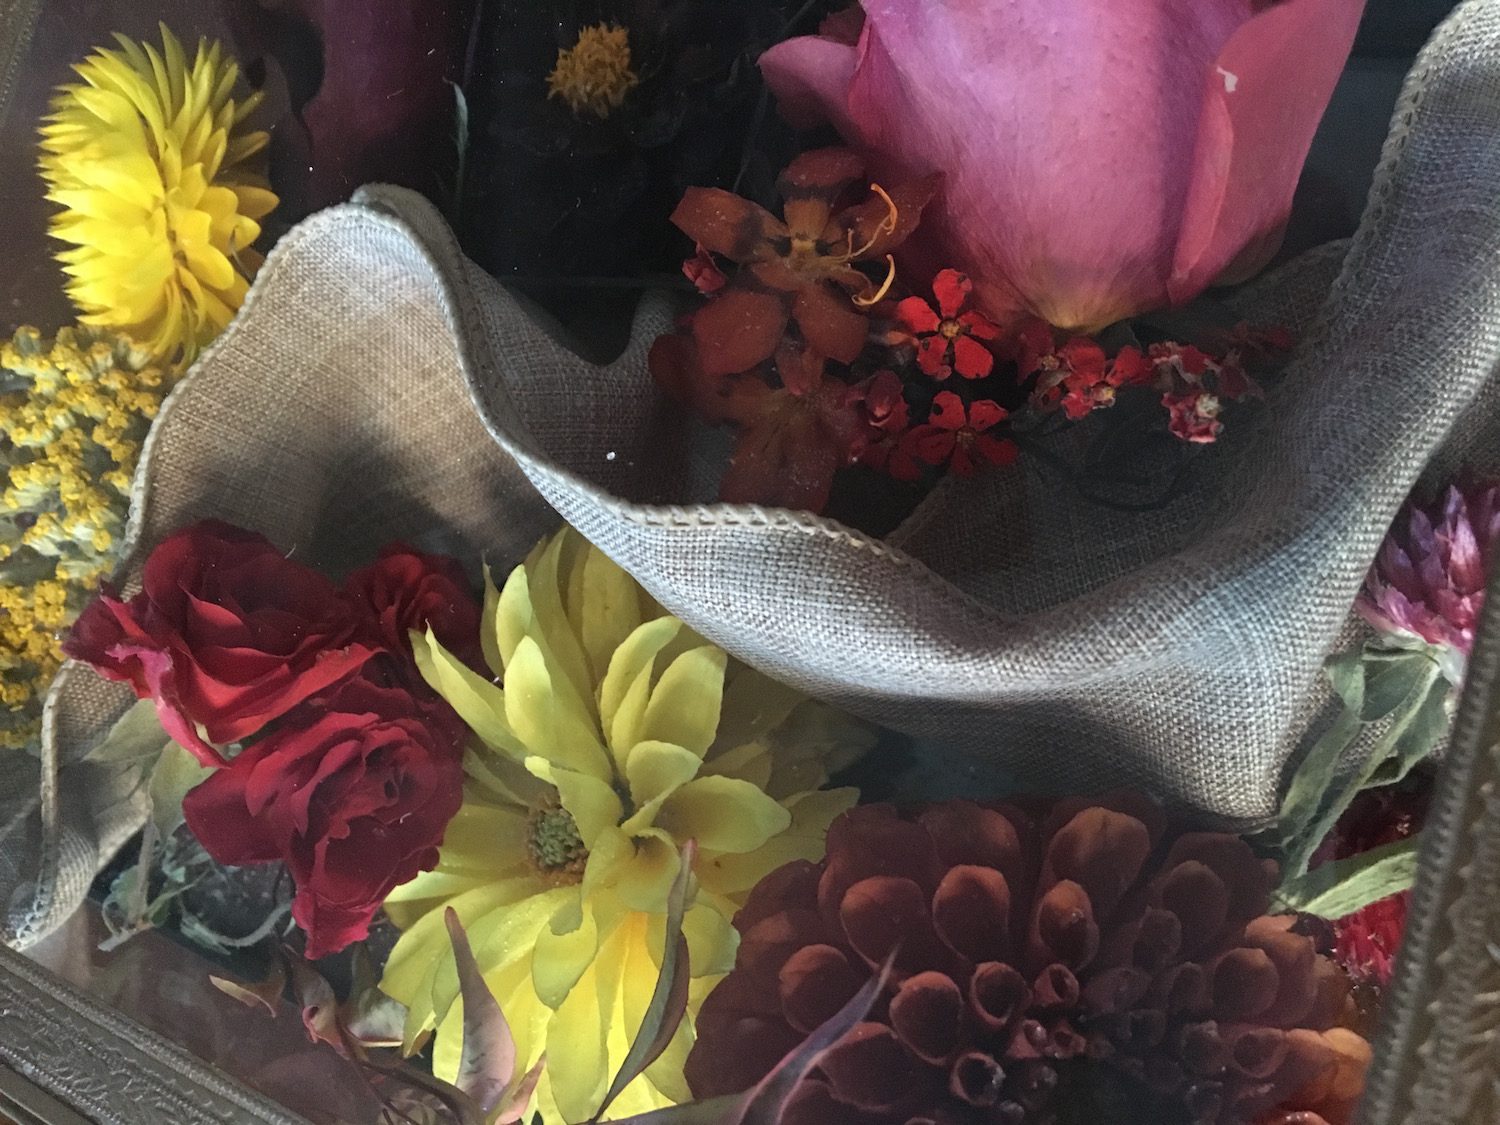
The fully preserved blooms. Top Row: Euphorbia, Crocosmia, Gomphrena and Nandina, Yellow Dahlia, Orange Dahlia. Middle Row: Yarrow, Burgundy Dahlia, Orange Spray Roses. Third Row: Strawflower, Orange and Red Rose, Celosia.
You may recall that in October my nephew Jake and new neice Susie got married in Massachusetts. We had so much fun making the flowers for this wedding and then actually dancing the night away. Susie picked such a beautiful palette for her florals that included all the colors that you see in New England during the peak of Fall. Warm reds, vibrant yellows and several shades of orange with lots of greenery.
My sister, Heather, really wanted to make sure that Susie had some of the signature blooms from her bouquet to keep in their home in Maryland. We both agreed that simply hanging them to dry like we did in the last century was not an alternative since we were hoping to capture the actual color from her day, not some dried, washed out version. I suggested that she try using a floral perservative that had caught my eye at Michaels. She did and here is what we learned.
Step 1: Gather Supplies
You or a family member will need the Silica Gel crystals complete with the one page drying chart, several plastic containers with lids, clippers (or scissors) and a clever uncle willing to read all of the directions. Here’s hoping you have one hanging around.
Step 2: Choose your blooms
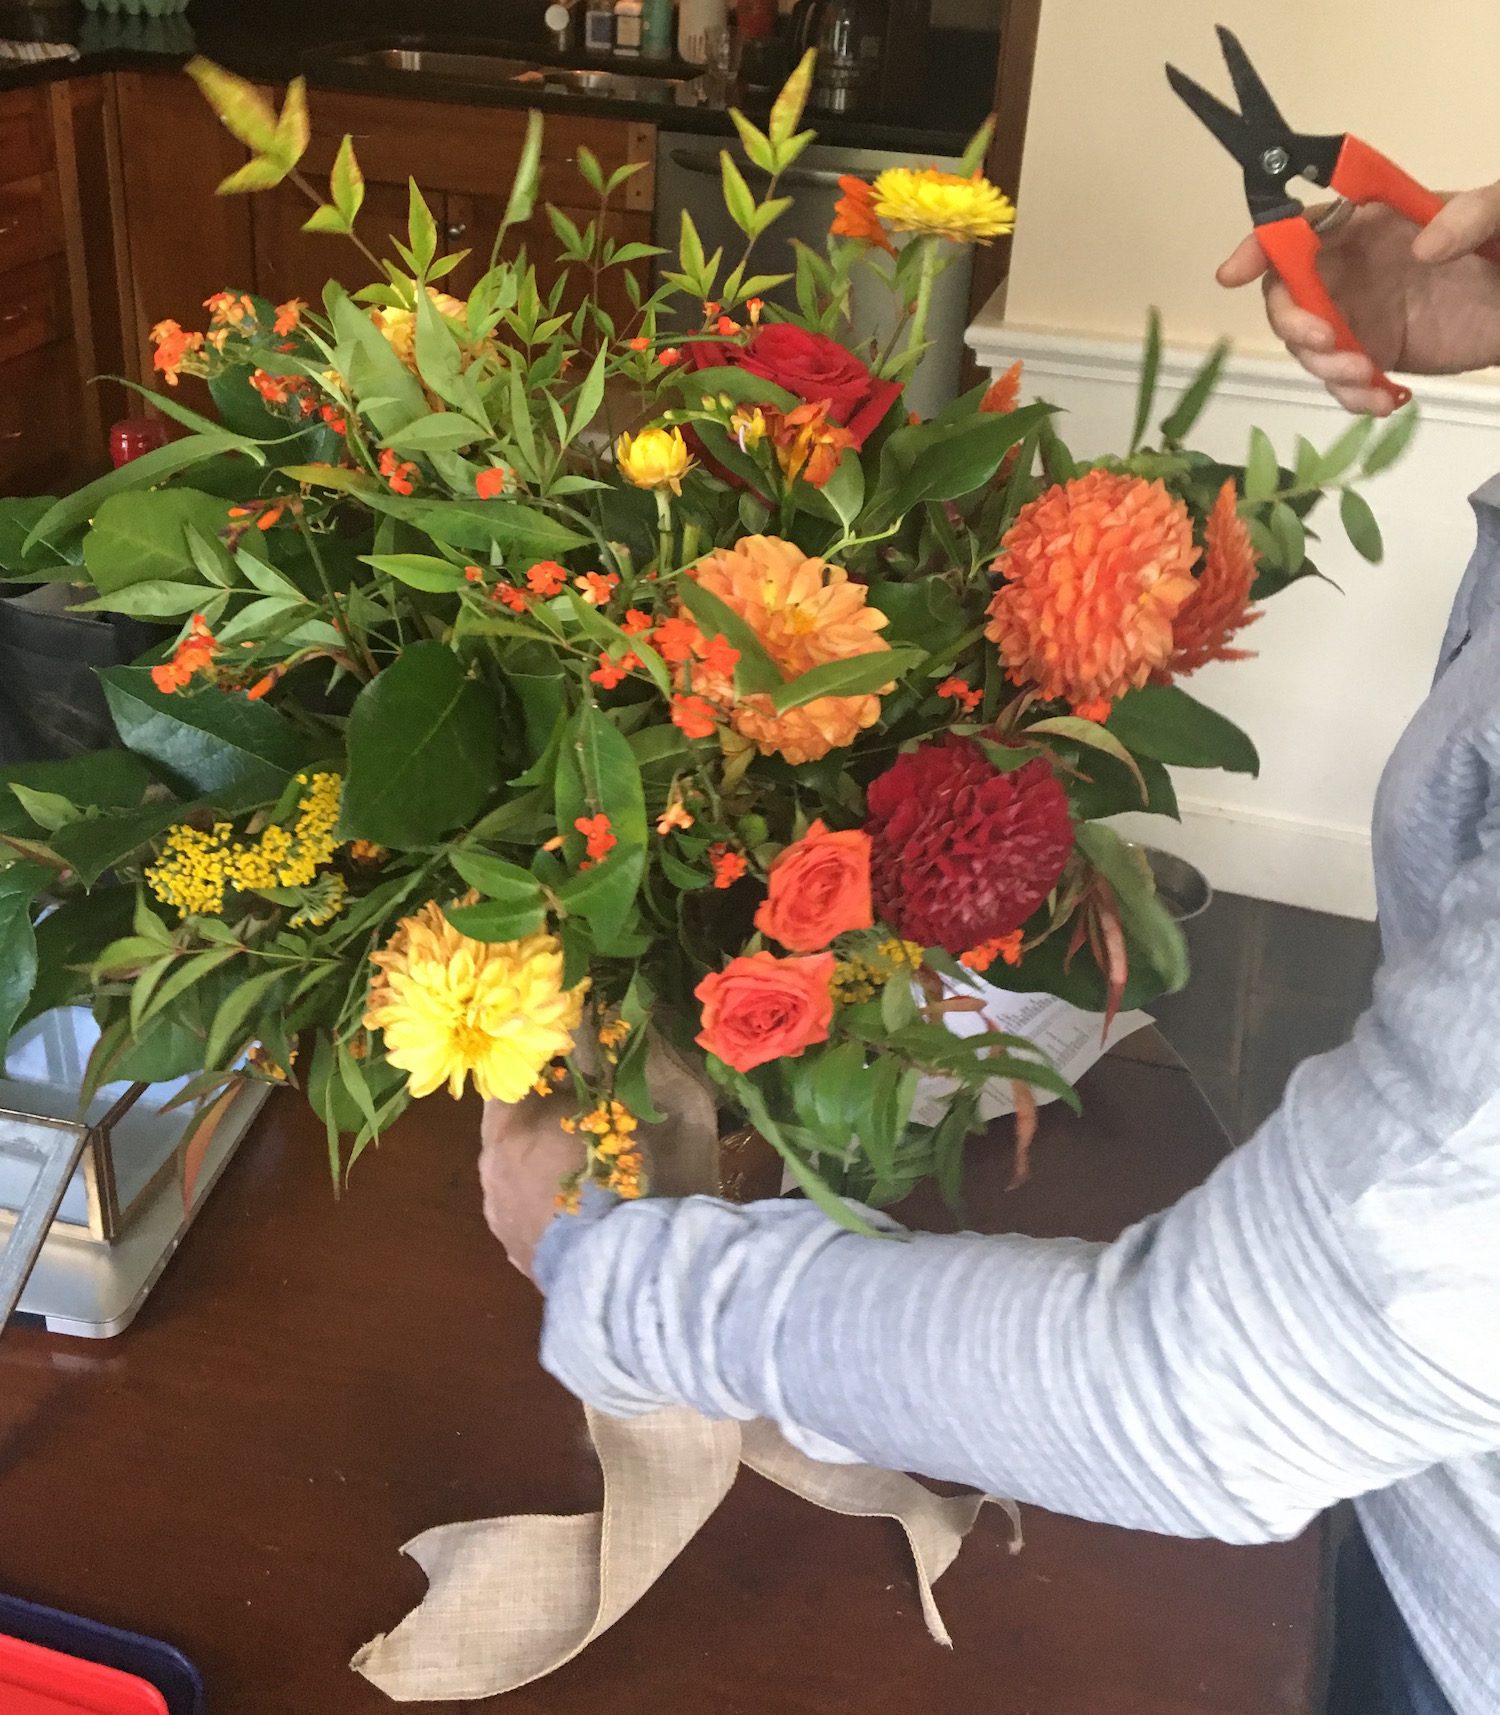
Pick some signature flowers from the bouquet within a day or two and cut them out of the bouquet. Trim each stem to about 2 inches. Susie’s wedding was Friday and Heather got to this process by Sunday morning.
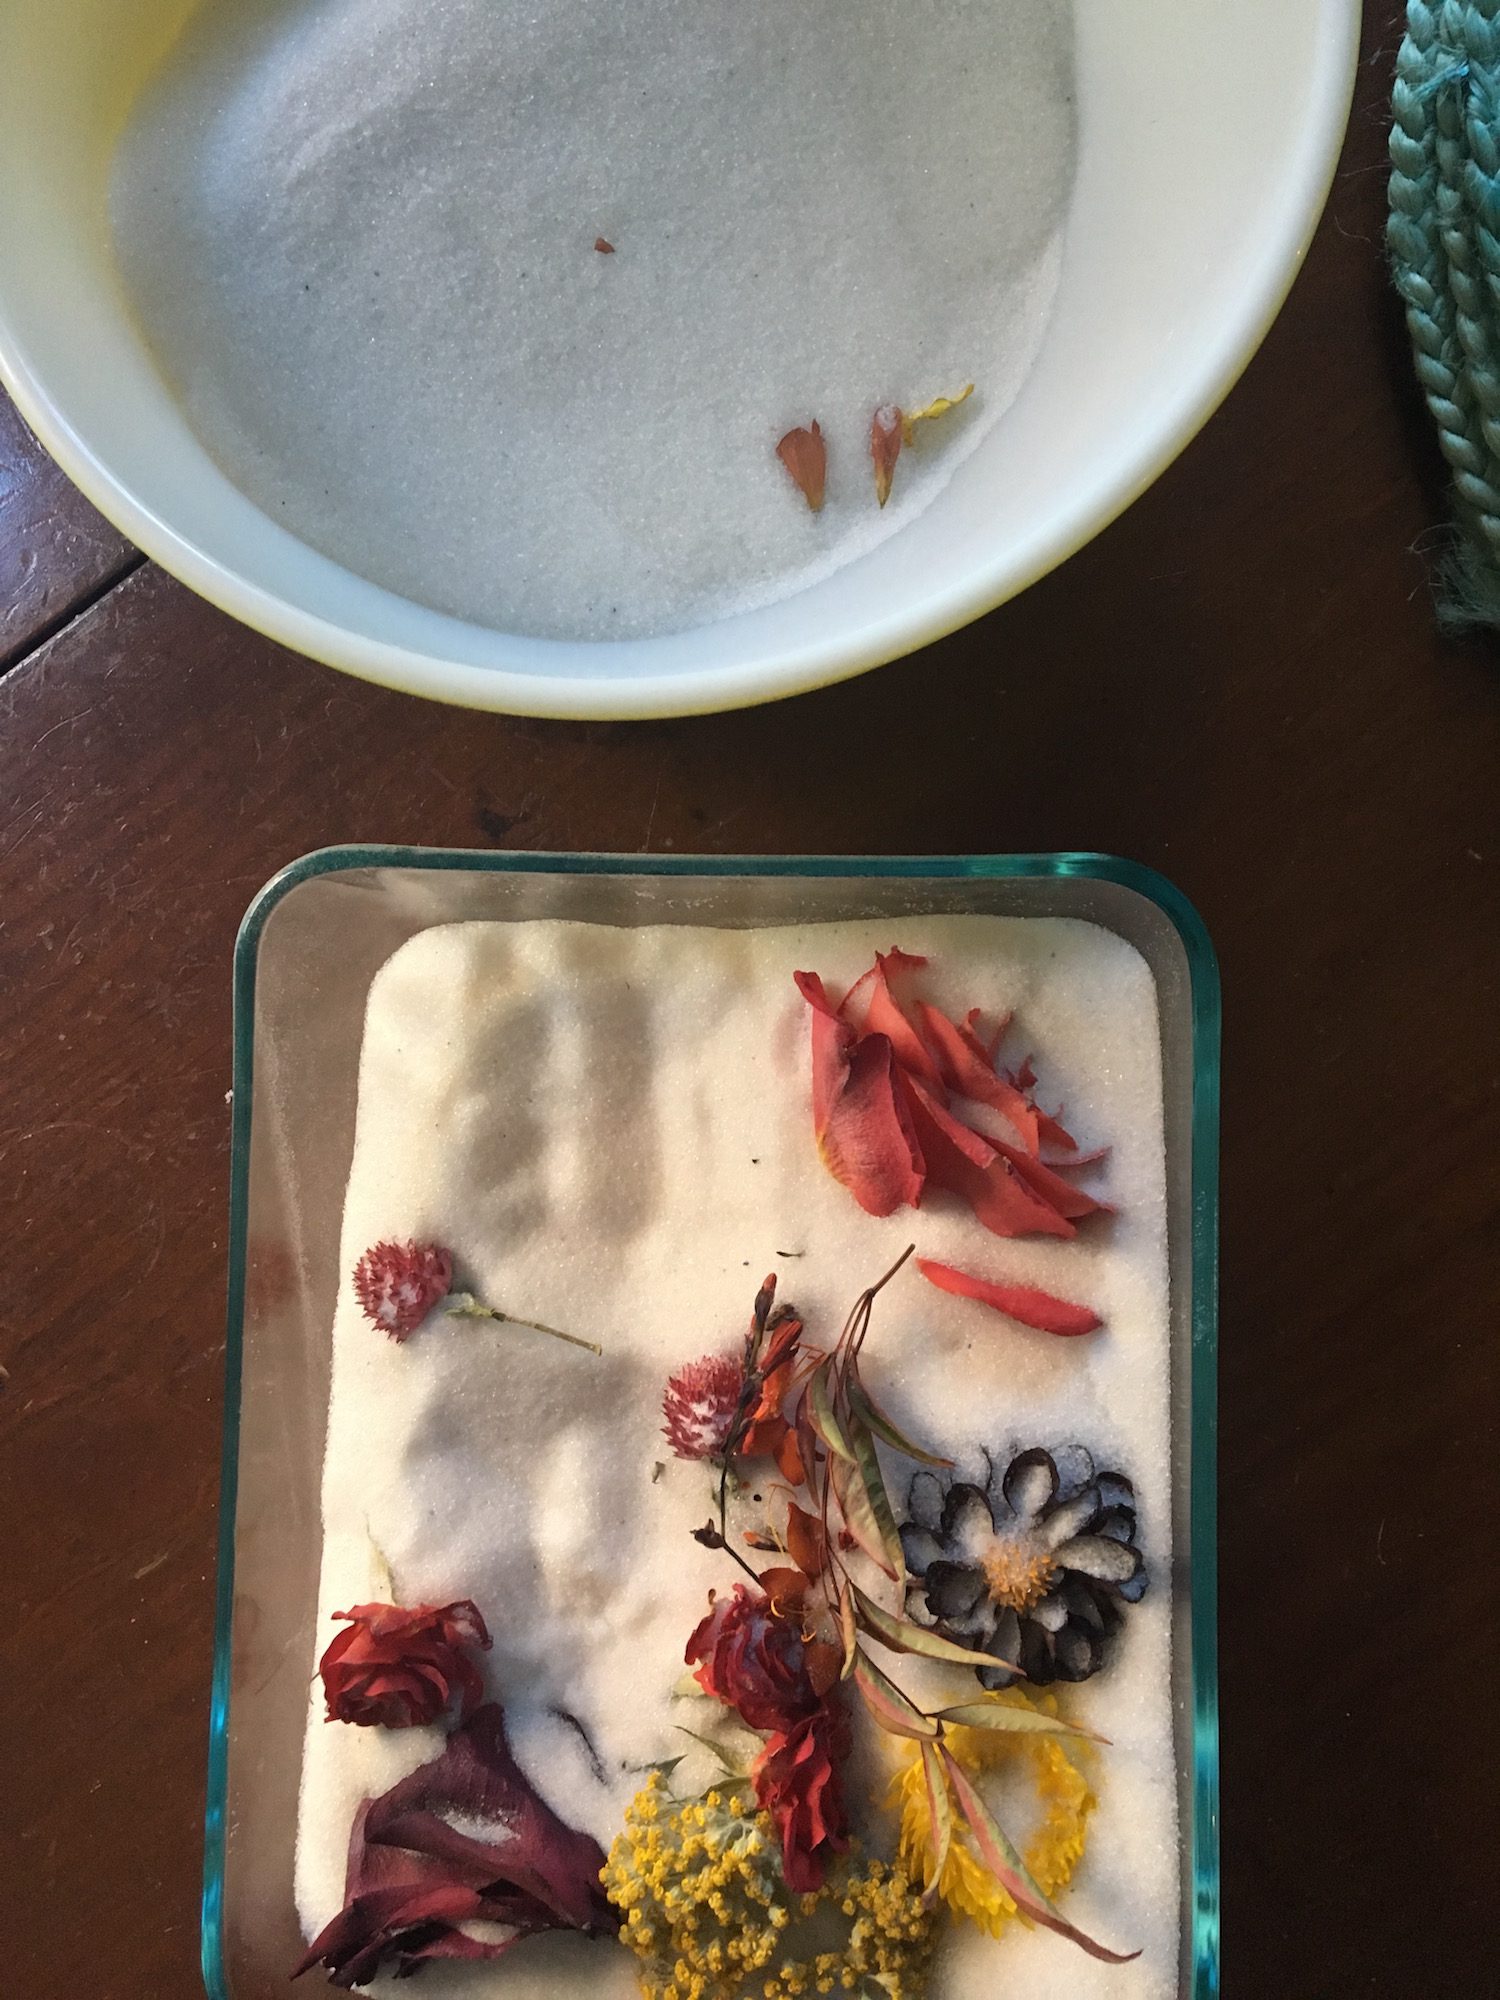
Step 3: Pour in crystals and add flowers
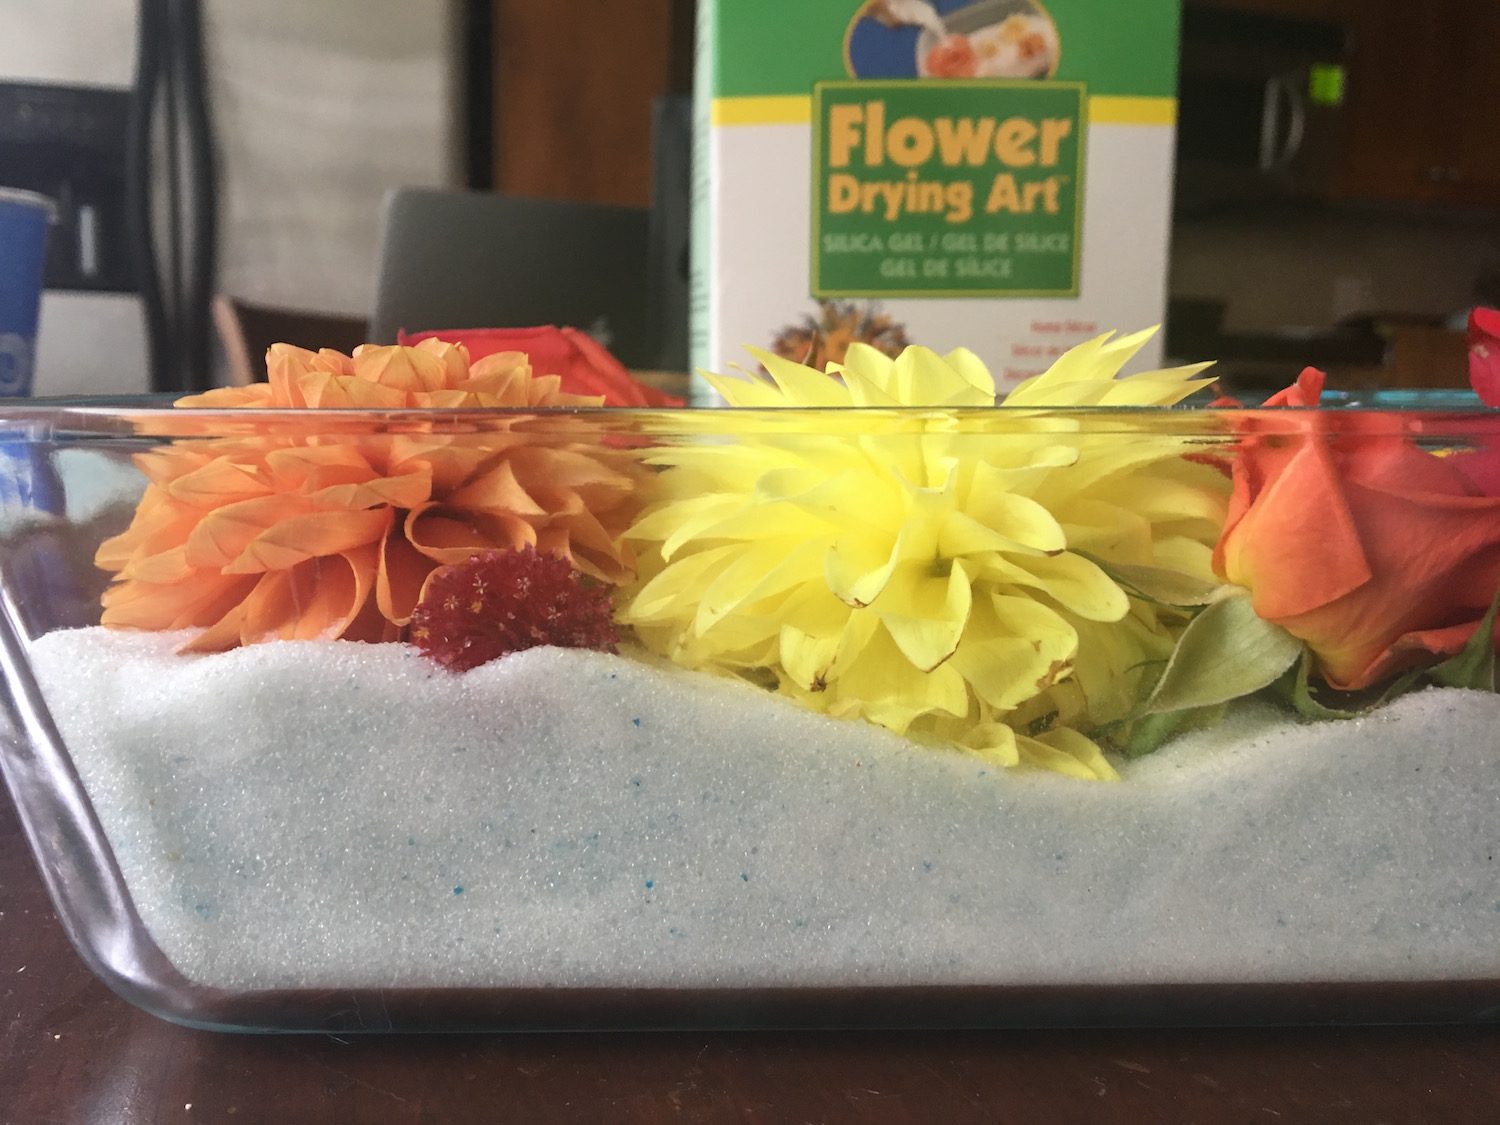
Pour several inches of the crystals into the bottom of the container to a depth a little deeper than the length of each stem, around 2 to 2 1/2 inches. Gently insert the stems into the crystal with the blooms face up leaving a little bit of space around each flower.
Step 4: Use more silica to cover the blooms
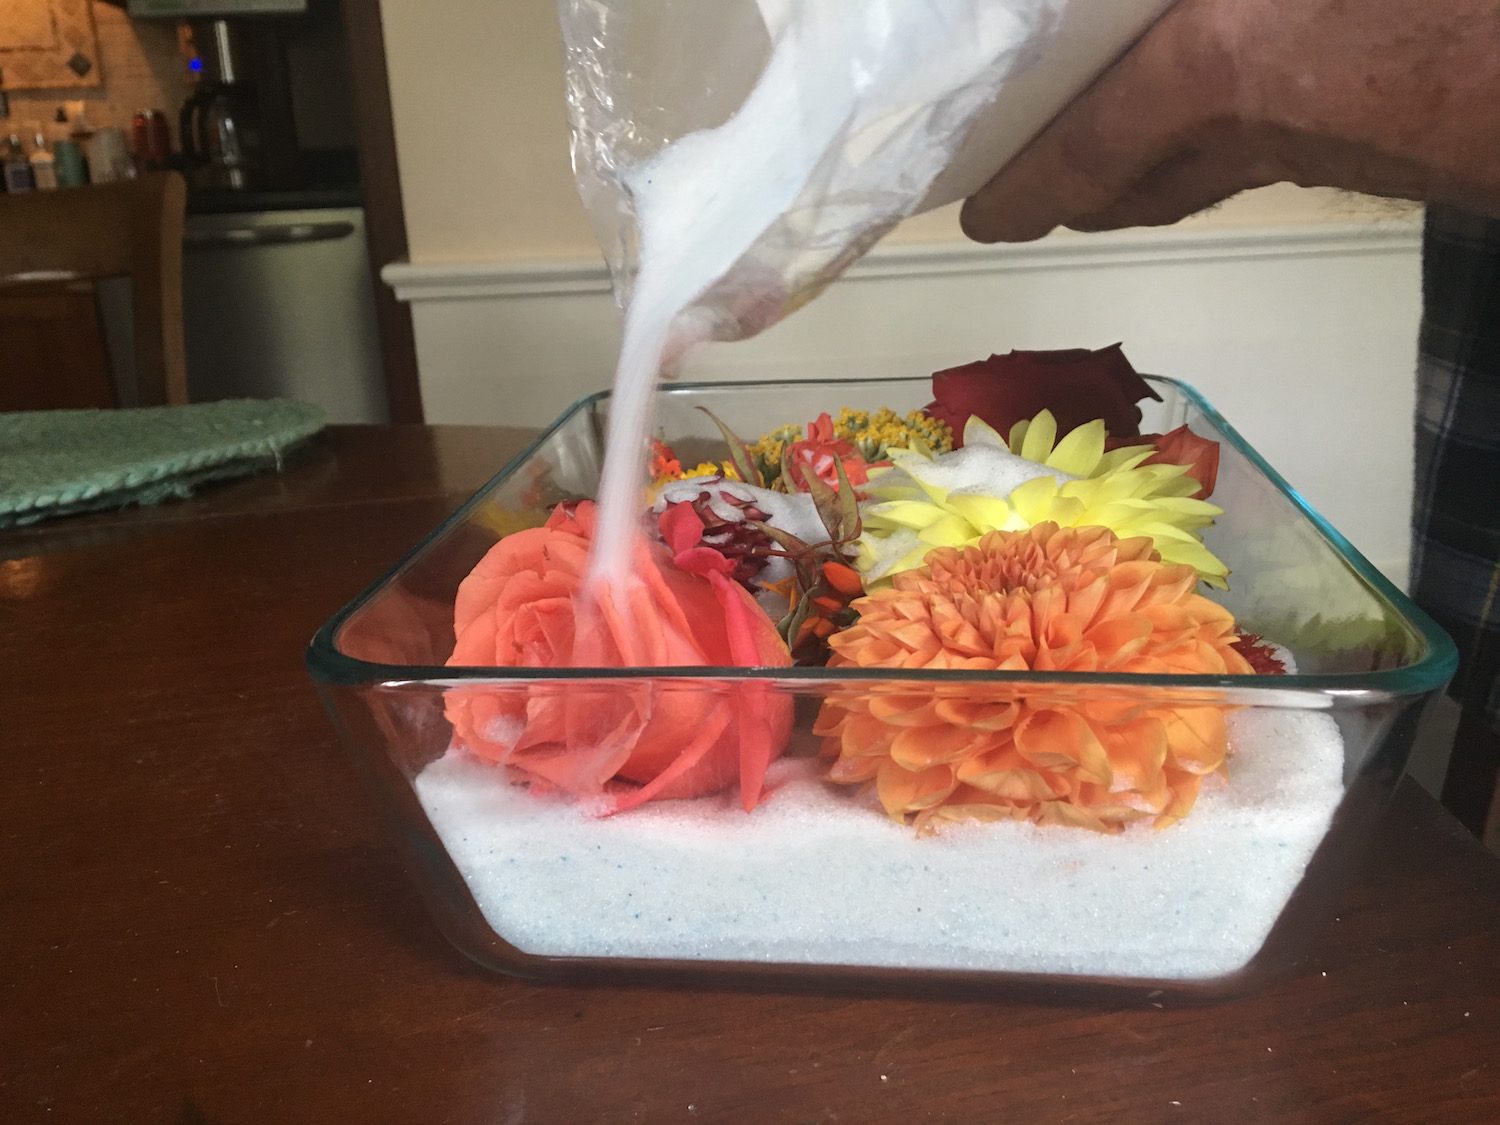
Heather and Uncle Jim poured the crystal slowly and close to the bowl to avoid crushing any of the petals, especially the Dahlias. All of the blooms must be completely covered. They fastened the container and repeated the process with a few more of the flowers from the bouquet.

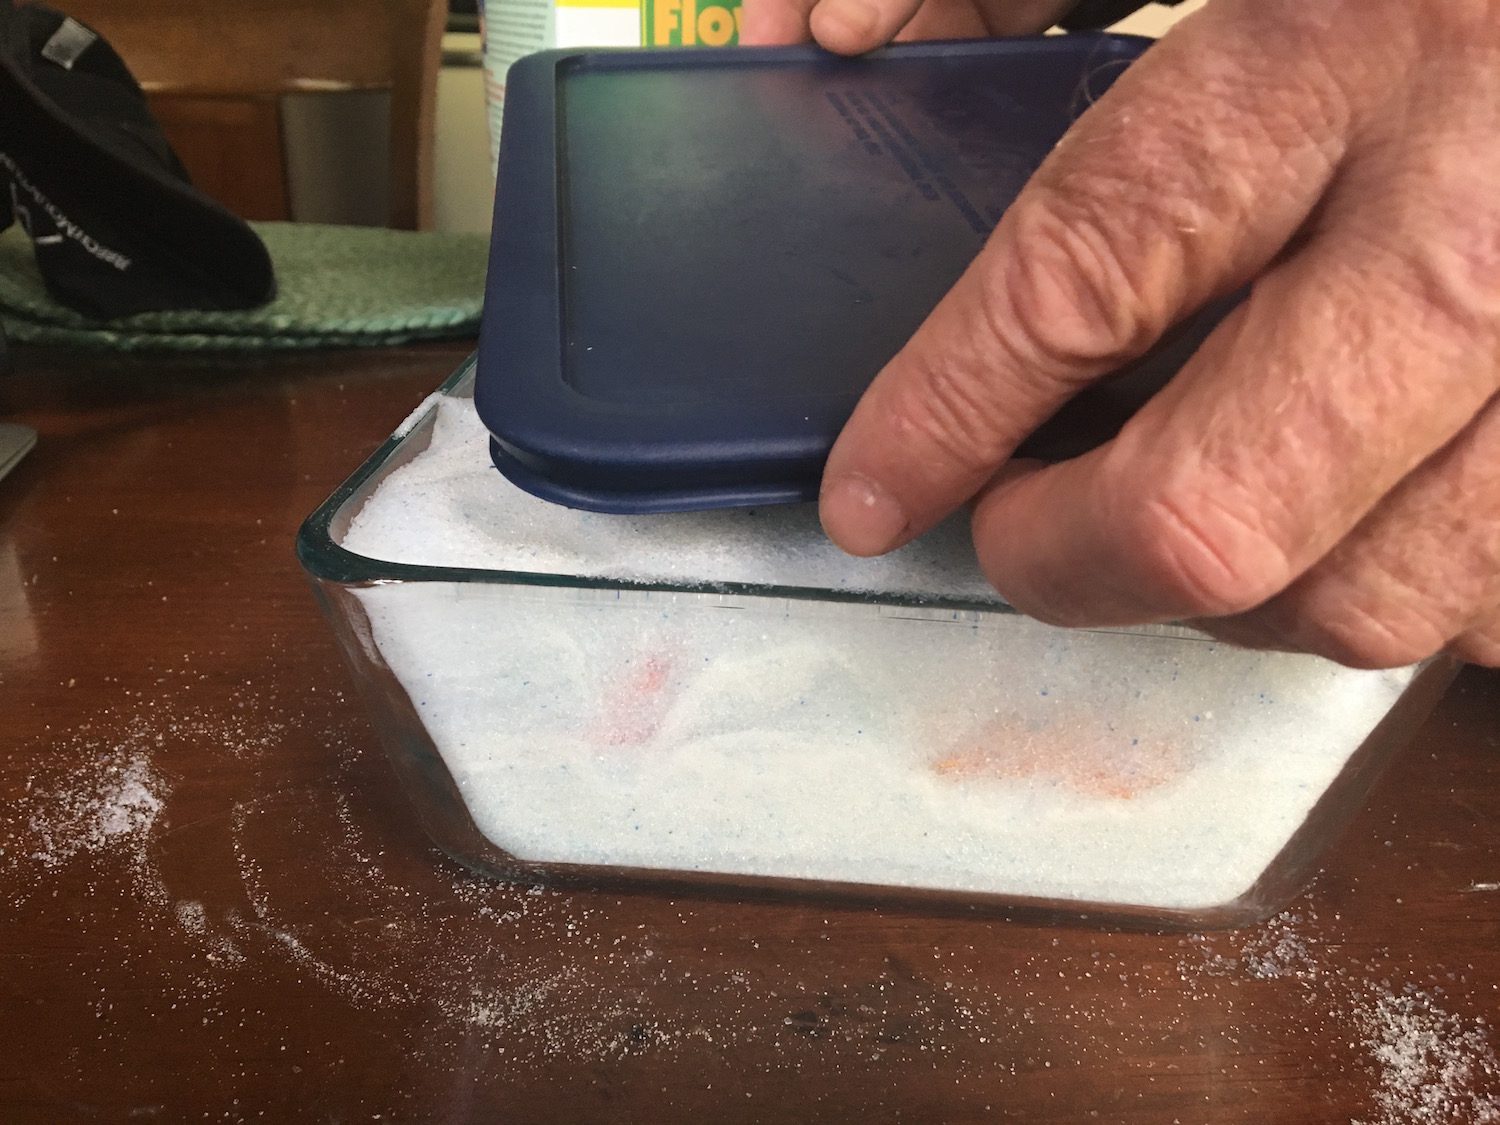
Step 5: Wait a few days
Initially, Heather and our uncle planned to identify each bloom on the drying chart provided and scientifically determine the exact length of time needed on a detailed schedule. Our uncle is a pragmatic man with just enough scientific know-how to suggest the following: “Let’s just figure out an average length for all the blooms, add a day and see what we get.” So, they did. And, it worked.
Step 6: Gently pour off the crystals
Heather waited till Friday morning and then gently poured off enough of the preservative so that she could gently lift out each bloom. “Voila,” she exclaimed. We were all really surprised at how well the process had worked. She had the perfect container, a glass box with brass edges that we bought from one of our vendors. She took a piece of the ribbon from Susie’s bouquet handle, wove it across the box, trimmed the stems below the head of the flower then gently arranged the flowers.
Here’s just a little more information that you might find useful.
The product was called “Flower Drying Art” and is made by a company called Activa Products to be found at www.activaproducts.com.
Heather and Uncle Jim suggest that the degree of difficulty was “easy.”
The product can be re-used over and over again and even eventually recovered by heating it in an oven. (See instructions).
It’s ok that a few crystals remain in the petals as they continue to dry a little.
The microwave process did not work at all for them possibly because of the power level. The Dahlia they experimented with was 1/3 the size of the blooms dried with the traditional method and very soft.
With a coupon at Michaels, Uncle Jim paid $12.00 or so plus tax.

Leave a Comment